• Skip to primary navigation
  • Skip to main content
  • Skip to primary sidebar
The Little Kitchen

The Little Kitchen

Quick and easy recipes you can make for your family and friends. Published by Julie Tran Deily

  • Recipes
    • By Category
    • By Ingredient
    • With Videos
  • Travel
  • About
    • About Julie
    • My Work Portfolio
    • Blogging
    • FAQ
    • Disclosure
    • PR Policy
    • Privacy Policy
    • Terms of Use
  • Contact

A Haunting Halloween Cake, Wilton-style

Julie Deily · 9 Comments

Disclosure: This post is sponsored by Wilton Industries, Inc. in conjunction with the Kitchen Play Halloween SideCar Series. I was provided Wilton products to help me create this project and share with you. I received no monetary compensation. This post was written by me and the opinions are my own.

When I was invited to participate by Casey of TasteStopping to participate in this new series for her brand new website called Kitchen Play, I was excited! I love making and decorating cakes and I enjoy using many of Wilton's products. I took all four Wilton cake decorating classes a few years and had so much fun.

About Kitchen Play: it's site devoted to connecting food bloggers and PR professionals through sponsored events such as the Progressive Party, the SideCar Series, the Pampered Pantry and more. Congratulations and kudos to Casey for starting such a fun project, I know she has been working tirelessly on it and I'm honored to be a part of it!

I really wanted to go for a Halloween theme that's accessible even if you have never done any cake decorating. That meant little to no fondant and a buttercream icing that's easy to make and very tasty. So with that goal in mind and after seeing the molds for these candy tombstones, I had a little idea of what I wanted to do.

My plan was to make a graveyard cake complete with tombstones and bones! I also wanted to make some Halloween themed cookies to go with the cake that would make great party favors.

The first thing I do when planning a cake is to decide on a theme or a central element of a cake and then build around it. I will often make drawings and often plan aloud with my husband. He is way more creative than me and I love bouncing ideas off of him. Sometimes he'll grab the pen and paper from me and start drawing too. My drawings don't look all that great but they help me get my plans on paper and are often a guide for me when I start the cake.

I will start out by showing you how I made the candy tombstones.

List of supplies for candies:
Candy molds – skeleton bones and tombstones
Candy Coloring Set – I used black from this set and orange from this set
Premium Candy Melts – I used white and dark cocoa
Candy Melting Plate
Glass bowl or any microwave safe bowl
Tapered spatula – that's just what I grabbed out of the drawer, a regular angled spatula would have worked just fine
Decorator bags

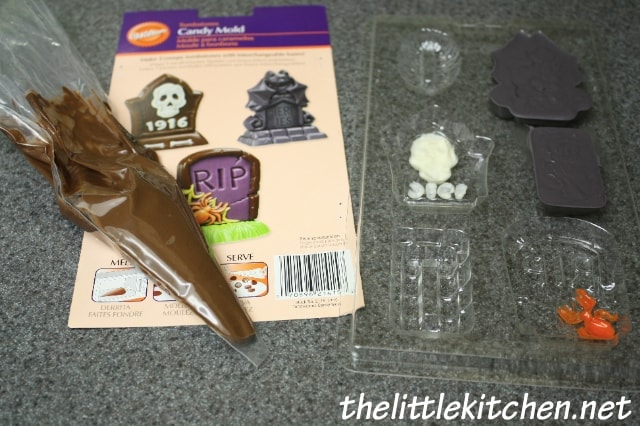
I started out making the tombstones. I used the black candy color from this set to make a gray color for the gargoyle type tombstone.
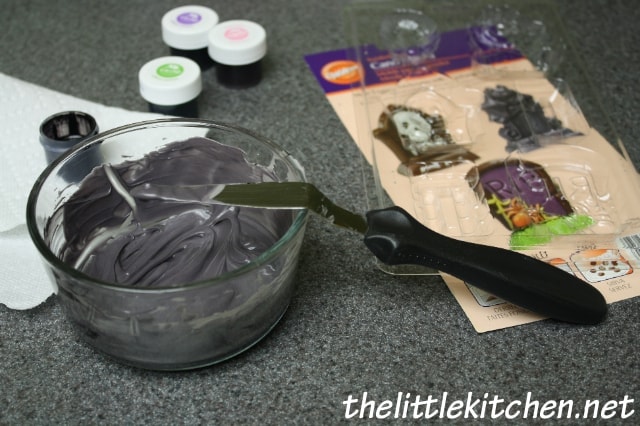
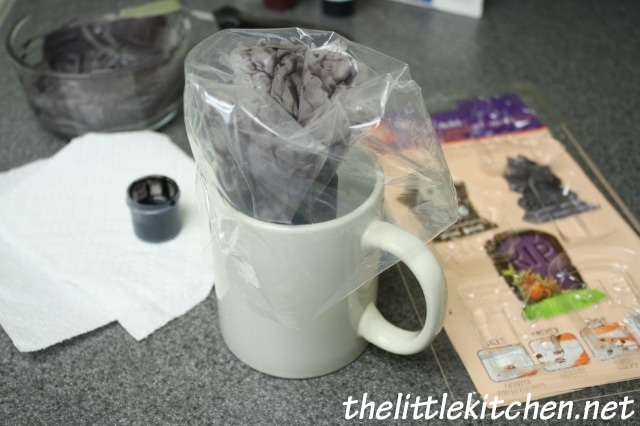
Mixing black into the white candy melts to make gray.
Filling the bag to fill the tombstomes candy mold.

I use the same method to fill bags with royal icing for decorating cookies. When using the decorator bags with candy melts and molds, I did not use a tip or coupler. Fill the bag with the colored candy melts (already melted) or if you're using white or chocolate (without needing to add color), fill the bag with candy melts and microwave according to the directions on the bag. No need for tips or couplers unless the candy mold is very small and detailed. Do not put tip on the bag before microwaving!
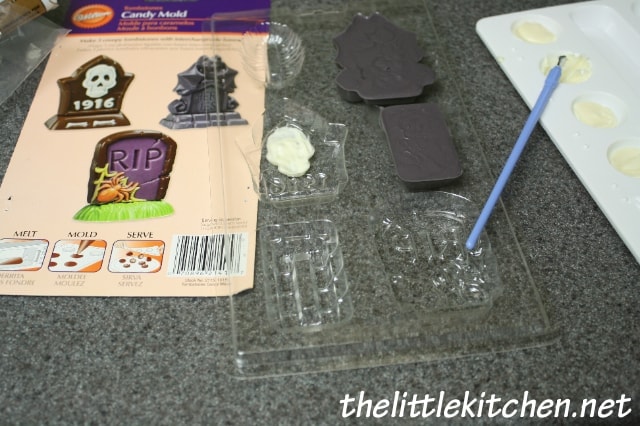
Paint in details
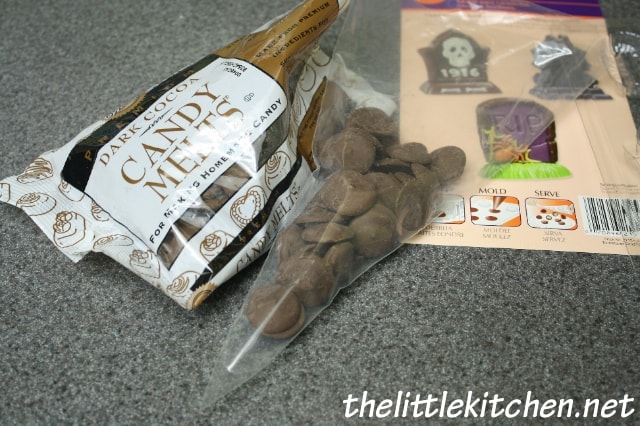
Fill the bag with candy melt wafers
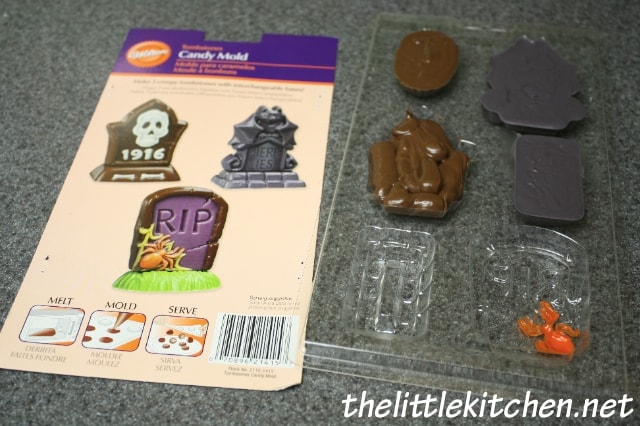
Melted chocolate candy
Pipe chocolate into mold using decorator bag
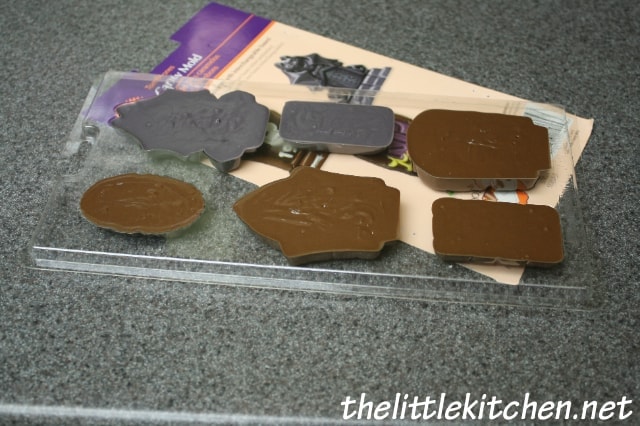
Fill each cavity and then tap the mold on a table or counter, I tapped a lot. This evens out the distribution and also helps to get rid of any air bubbles.

I also made the white chocolate skeleton bones but didn't photograph the process. I would say to cut the decorator bag really small or even use a small tip & coupler along with your decorator bag.

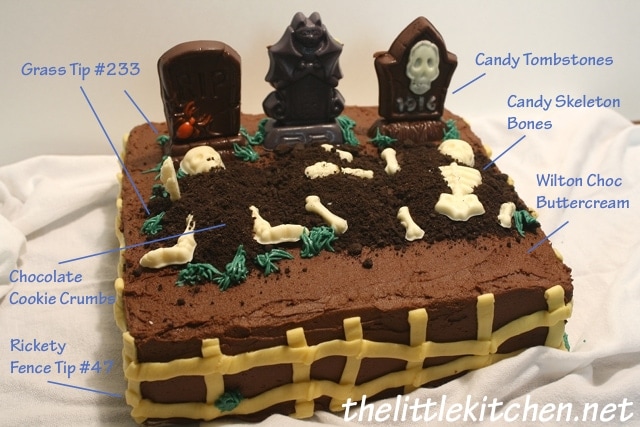
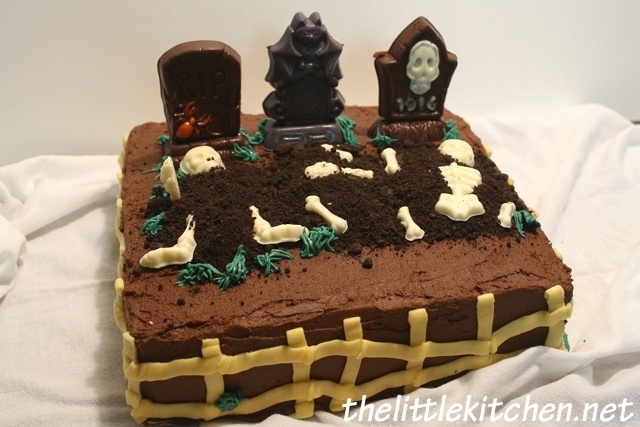
So here's the cake broken down:

Here's some more details of the cake:
I doubled Wilton's chocolate buttercream icing (I used cocoa powder and the suggestion of coffee instead of milk) – it's a really yummy icing recipe!
For the fence, I used the flat side of the basketweave (#47) tip and it didn't matter if I got it straight since the goal was for it to be rickety looking
It's a 2-layer red velvet cake and I used the same chocolate buttercream icing as the filling

When planning a cake, I also plan when I'm going to do what, this helps make the process go smoother. Working a full-time job makes it really hard for me to make the cake and decorate it all in one day. Plan ahead and stay organized is my advice.
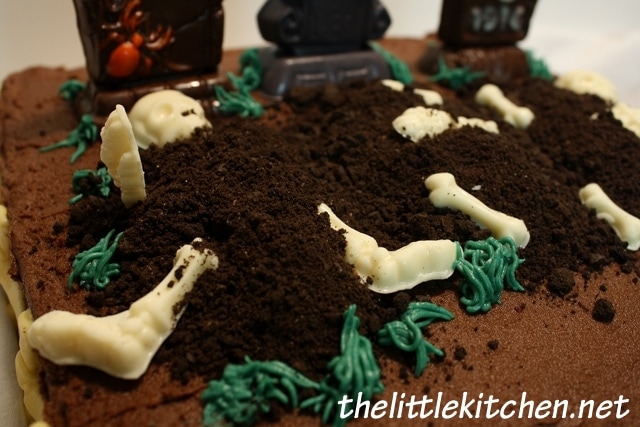
A little close-up of the bones.
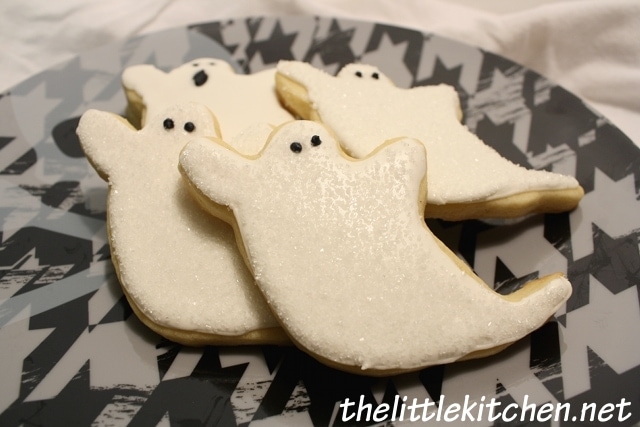
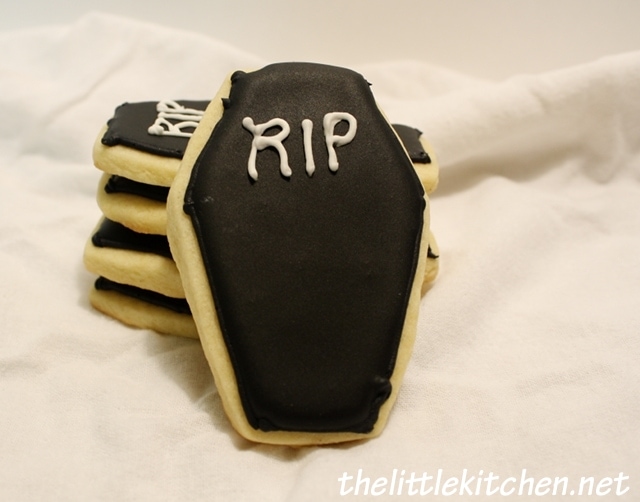
It took a lot of black icing color to get this black. Let the black color in the royal icing sit overnight. Be careful, these cookies will turn your mouth a little black!
After flooding the white and letting them dry for just a couple of minutes, I added sanding sugar and they gave them a nice sparkle.

The coffin and ghost cookie cutters came from this 18-piece Halloween set.

See this post I did about Valentine's cookies for the recipes I used. I did use Wilton's royal icing recipe. I always double it. When doing decorated cookies, it's best to plan ahead. Figure out how many colors you want to do on your cookies, I often list them so it helps me stay organized. From there, I figure how how many batches of royal icing I'll need to make. Making the coffins and ghosts were easy as I only used two colors which meant two consistencies, 1 for flooding and 1 for piping the outline and eyes and mouth on the ghosts.
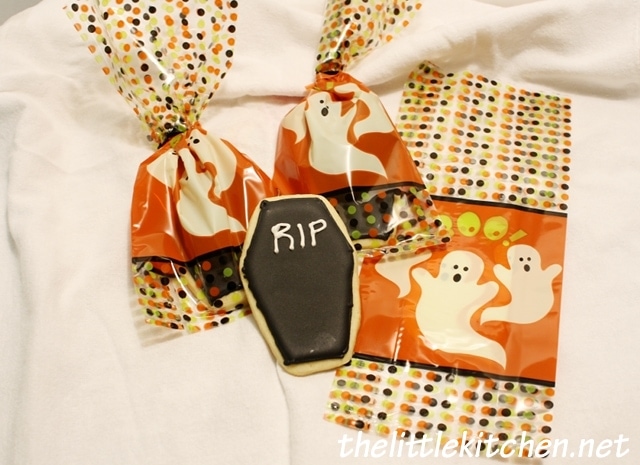
Look at these cute Wilton Halloween party favor bags I found at Wal-mart. I really thought they fit in and the coffin or ghost cookies go great in them!

I hope you enjoyed this post and found it useful. Visit the other Halloween SideCar Series posts now!

Share this post!

  • Share
  • Tweet
  • Email

Categories: Cake Decorating, Cakes Tags: Chocolate Posted: October 1, 2010 Updated: October 12, 2016

Related Posts

Orange Bundt Cake with Dark Chocolate Ganache from thelittlekitchen.net
Orange Bundt Cake with Dark Chocolate Ganache
Peanut Butter & Chocolate Chunk Snack Cakes with Peanut Butter Frosting from thelittlekitchen.net
Betty Crocker Reese’s® Peanut Butter & Chocolate Chunk Snack Cakes with Peanut Butter Frosting
Biscoff Butter Cup Cupcakes
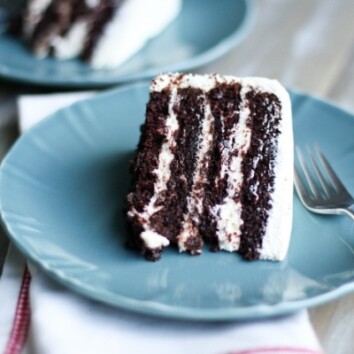
The Best Chocolate Cake Ever with Pudding Frosting
Julie of The Little Kitchen

Hi, I'm Julie!

Welcome to The Little Kitchen! I'm Julie and I love to cook, bake, eat and share (not necessarily in that order). I share easy recipes, stories about my family (which includes my pets) and my travels. And I actually do have a little kitchen.

Instagram Pinterest Facebook Twitter
About · Portfolio · FAQ · Contact

Don't miss another recipe!

Subscribe today to start getting my latest recipes in your inbox.

    Unsubscribe any time. Privacy Policy

    Reader Interactions

    Comments

      Rate & Comment Cancel reply

      Your email address will not be published. Required fields are marked *

      Recipe Rating


      The maximum upload file size: 5 MB. You can upload: image. Drop file here

    1. David says

      April 2, 2011 at 9:53 am

      I love this – it is not halloween but we could have Halloween in the spring!

      Reply
    2. Anjali says

      October 4, 2010 at 1:27 pm

      Julie- this cake is SOO AWESOME!!! Very cool 🙂

      Reply
    3. Jessica @ Jessiker Bakes says

      October 3, 2010 at 8:51 pm

      Very cool!! Loving the inspiration.

      Reply
    4. RJ Flamingo says

      October 3, 2010 at 1:46 pm

      I love your graveyard! And those ghost cookies are adorable! I think you inspired me. 🙂

      Reply
    5. Jennifer says

      October 1, 2010 at 10:32 pm

      Wow! What great ideas!! I love the candy molds. I’ve never tried them because I always thought it was too complicated, but the photo-by-photo process made it seem like a piece of cake (pun intended)! Thanks for a great blog and great job on the cake, I love it!!

      Reply
    6. Melanie says

      October 1, 2010 at 8:49 pm

      Great cake and post! Thanks, Julie!

      Reply
    7. Nancie says

      October 1, 2010 at 12:13 pm

      Looks great, and you make is sounds so easy!

      Reply
    8. Elle says

      October 1, 2010 at 11:53 am

      Oh my gosh, love your photos! Also? I’d love to dive right into that cake, while enjoying a couple of cookies. Great ideas!

      Reply
    9. Paula says

      October 1, 2010 at 8:31 am

      Fantastic cake. You did a super job!

      Reply

    Primary Sidebar

    Julie of The Little Kitchen

    Hi there, friend!

    Welcome to The Little Kitchen! I'm Julie and I love to cook, bake, eat and share (not necessarily in that order). I share easy recipes, stories about my family (which includes my pets) and my travels. And I actually do have a little kitchen.

    Instagram Pinterest Facebook Twitter
    About · Portfolio · FAQ · Contact

    Don't miss another recipe!

    Subscribe today to start getting my latest recipes in your inbox.

      Unsubscribe any time. Privacy Policy

      Popular Posts

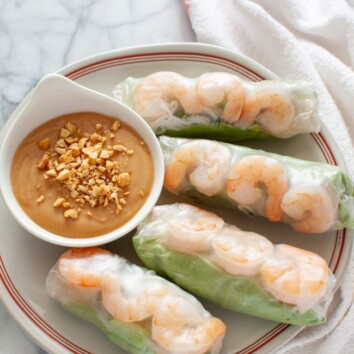
      • Vietnamese Spring Rolls with peanut dipping sauce on a plate with a napkin in the background Vietnamese Spring Rolls with Peanut Sauce
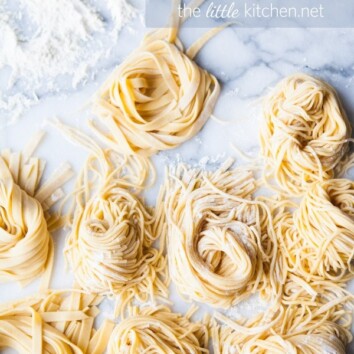
      • How to Make Homemade Pasta from thelittlekitchen.net How to Make Homemade Pasta with KitchenAid
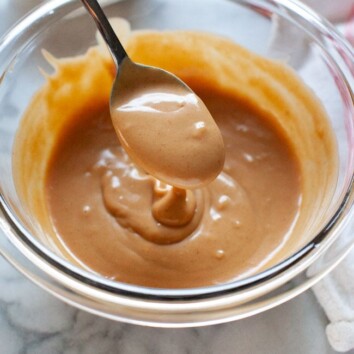
      • peanut sauce on a spoon over a glass bowl with a napkin in the background Peanut Sauce Recipe
      • DoubleTree Hotel Chocolate Chip Cookies thelittlekitchen.net DoubleTree Cookie Recipe

      Reader Favorites

      • Whole Chicken in a Slow Cooker from TheLittleKitchen.net Crockpot Whole Chicken
      • How to Make Homemade Pasta from thelittlekitchen.net How to Make Homemade Pasta with KitchenAid
      • DoubleTree Hotel Chocolate Chip Cookies thelittlekitchen.net DoubleTree Cookie Recipe
      • This recipe for cheesesteaks is amazing! We make it all the time and constantly get rave reviews! You have to try it!! Cheesesteaks from thelittlekitchen.net Cheesesteak Recipe
      • Slow Cooker Whole Turkey from thelittlekitchen.net Slow Cooker Whole Turkey
      • Garlic and Olive Oil Sauteed Green Beans from thelittlekitchen.net Garlic and Olive Oil Sauteed Green Beans

      Recipes by Category

      • Appetizers
      • Asian
      • Beef
      • Breakfast
      • Chicken
      • Desserts
      • Drinks
      • Grilling
      • Husband’s Favorites
      • Main Dishes
      • One Pot Meals
      • Pasta
      • Pork
      • Salad
      • Sandwiches
      • Seafood
      • Side Dishes
      • Slow Cooker
      • Soup
      • Vegetarian

      As Seen In

      Better Homes and Gardens, The Pioneer Woman, Taste of Home, Country Living, Southern Living
      Instagram Pinterest Facebook Twitter
      • Recipes
      • Travel
      • About
      • My Work
      • FAQ
      • Contact

      © 2022 · The Little Kitchen is a registered mark owned by Julie Deily · Privacy Policy · Terms of Use

      0 shares