
Decorated cookies are always fun to eat but my requirement is that they be very tasty and personally I don't like them so hard that you practically break your teeth on them. I have made this sugar cookie recipe several times. The first couple of times, I used a glace icing recipe by Toba Garrett but this time, I wanted to try it with royal icing after getting some inspiration from Mikkel. I was worried that the royal icing would become too hard. The icing does harden as it dries but they are still soft enough that they are not teeth breakers. Cookies decorated with royal icing require at least 24 hours to dry before packaging or stacking.
I'm a member of a cake club called CAGO and was recently voted in as Vice President of the club. Ummm, I wasn't running for the position. LOL! My husband wasn't too happy that I volunteered for yet another thing but I kept telling me I didn't run for the position. (If you're a sugar artist or cake decorator in the Orlando/Central Florida area, for more information about CAGO, click here.)
The Ronald McDonald House of Orlando recently asked our club to make themed cookies for their Valentine's Day events. All together, our club made 18 dozen cookies. When this donation opportunity came up, I found it a perfect time to try royal icing on these tasty cookies. I did make extras and I sent some to my friend Wendi and I also shared with my Bunko group.
These cookies are fun to make but a little time consuming and the ever present perfectionist in me comes out. Once you get into a rhythm, it does go by quicker. I made the cookie dough one night, baked them the next night and decorated over a couple of nights. In between, I made a second cookie dough batch and baked them as well.

No Fail Sugar Cookies (NFSC)
Ingredients
Sugar Cookies
- 6 cups flour
- 3 tsp. baking powder
- 2 cups unsalted butter
- 2 cups sugar, white granulated
- 2 eggs
- 2 tsp. vanilla extract or desired flavoring, I like almond myself
- 1 tsp. salt
Wilton Royal Icing Recipe (this is their recipe doubled)
- 6 tablespoons Meringue Powder
- 8 cups about 2 lbs. confectioners' sugar
- 12 tablespoons warm water
Instructions
Sugar Cookies
- Cream butter and sugar until light and fluffy. Add eggs and vanilla. Mix well. Mix dry ingredients and add a little at a time to butter mixture. Mix until flour is completely incorporated and the dough comes together.
- Portion out dough and pat into flat disk or rectangular shape and place between two sheets of parchment paper. Using rolling pin, roll dough out, keeping dough in between parchment paper sheets. Roll out to desired thickness.
- Chill for 1 to 2 hours.
- Repeat steps 2 and 3 until all of the dough is rolled out.
- Preheat oven at 350 degrees for at least a half an hour.
- After chilling, take out sheets one at a time. Remove top sheet of parchment and place on a cookie sheet.
- Leaving dough on other sheet of parchment, cut out desired shapes using cookie cutters dipped in flour with the excess shaken off. Dough should be cold enough to transfer to cookie sheet without losing shape. You may have to roll away the dough surrounding the shapes.
- Place into oven and bake 6-9 minutes. Place cookie sheet on cooling rack for several minutes and then remove from cookie sheet, taking sheet of parchment paper and place on cooling rack. Decorate cookies after they are completely cooled.
- Take excess dough from cut-outs and re-roll between sheets of parchment paper and refrigerate again before cutting shapes out.
Tips:
- I usually use 3 different cookie sheets so by the time I get to use a cookie sheet again, it's completely cool.
- Be patient, do not put more than one cookie sheet in the oven. If you use the top or bottom racks, your cookies will overbake.
- Be sure to turn on your oven timer, my oven bakes these cookies in 6 minutes so I have to watch them carefully.
- The original recipe calls for chilling the dough for 1-2 hours and then rolling them out, it also offers the hint to roll between parchment paper sheets and then chilling. I have incorporated this into the instructions because I have done it the other way. This recipe has a lot more butter than other sugar cookie recipes and the dough hardens in the refrigerator. Rolling the cold dough out is very hard and when you're finally able to roll it out, the cookie dough is warm. When I would go to transfer the cookie shapes to the cookie sheet, the cut out cookie would lose its shape or stretch. As the original recipe states, no need to add excess flour to your cookies and you don't dirty your rolling pin!
Wilton Royal Icing
- Mix meringue powder and confectioner's sugar together in stand mixer. Gradually add warm water as mixer is on.
- Beat all ingredients until icing forms peaks (7-10 minutes at low speed with a heavy-duty mixer, 10-12 minutes at high speed with a hand-held mixer).
- Add more warm water while mixing if you need thinner icing, especially for flooding.
To decorate the cookies, you'll need
- decorator bags
- couplers
- #2, #3, #4 tips
- royal icing dyed with desired colors
- damp towels
- paper towels
- I also use a cookie flooding tool (you'll see pictured below)
- Color your icing. Depending on what you're doing, you may need to have two of the same color, a stiffer consistency for outlining the cookie and a thinner one for flooding the cookie.
Notes
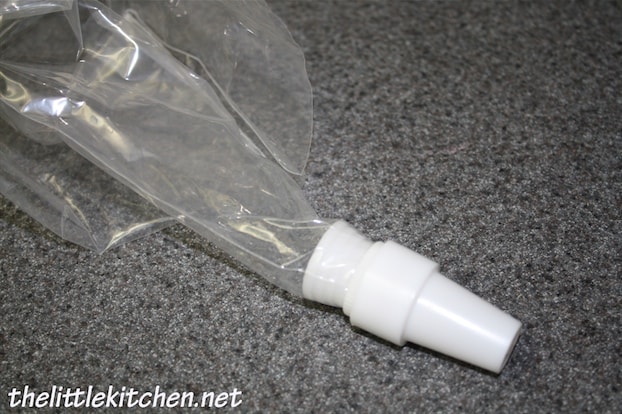
I bought these Wilton tip covers and they never really worked for me (when using buttercream because they don't stay on) but I found a use for them now. I use them with the bags that are filled with the flooding icing since it's thinner and flows straight through the tip without even having to squeeze in the bag. Don't get me wrong, it's still a messy affair but this helps a little bit.
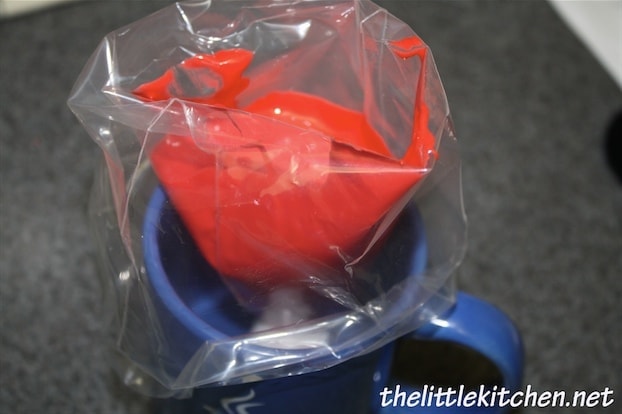
I fill the bag with thin royal icing inside a coffee mug (I have used medium height cups too). Since I need to pour the icing in, I need it stay put and using the cup works. The tip cover is still on.
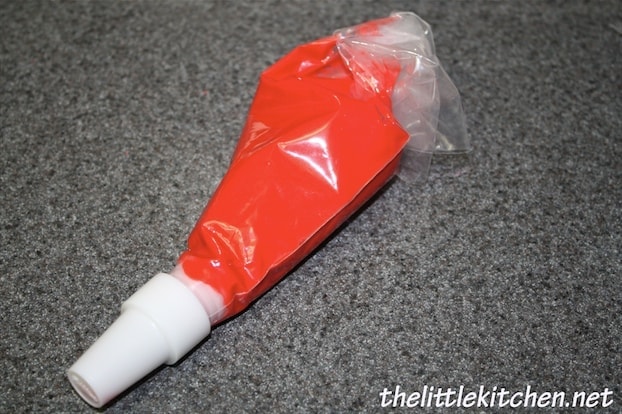
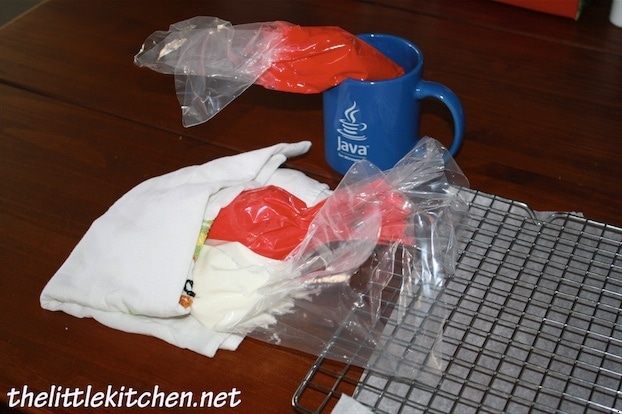
You want to keep your royal icing bags covered in a damp cloth. The stiffer consistencies tend to dry out faster. Warning: it does and will get messy. After taking this picture and going to grab something. There was icing on the table from the red icing in the coffee mug.
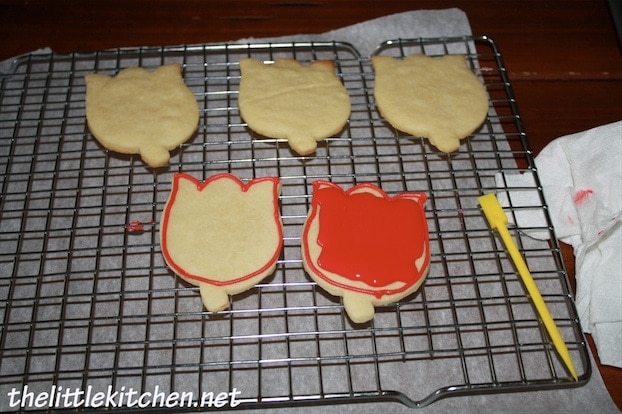
I use an assembly line process. Outline a few cookies, and then go back and fill and flood them all. The yellow tool is what I use to move the icing to the edge. I received this tool at an ICES Day of Sharing (DOS) event in a goody bag and never knew what to use it for and soon found out when I decorated my first cookies in 2008.
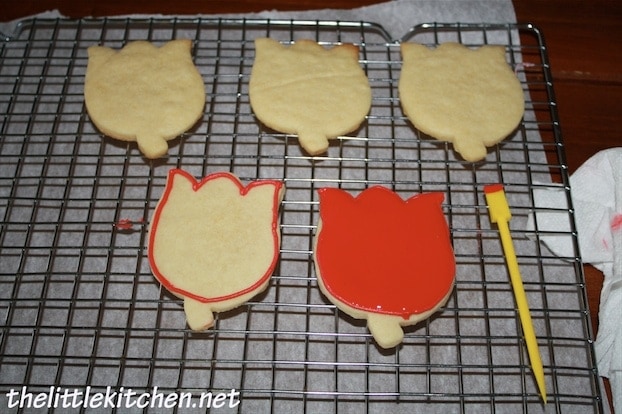
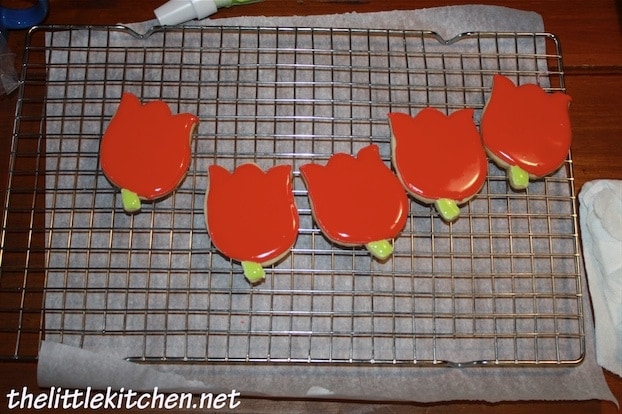
Depending on the details you're putting on the cookie, you may have to wait for the royal icing to completely dry before putting on the next details. In the case of the tulips, the petal details are the same color red so I only had to wait a few minutes before applying them using the stiff consistency. I didn't wait for any drying time to do the green stems.

Red and pink tulips.

Some heart cookies. I love this green. I learned about this color combination from Nic Lodge. It's Americolor mint green and electric green, mixed together in a 1 to 1 ratio.

Of course had to make some red hearts too.
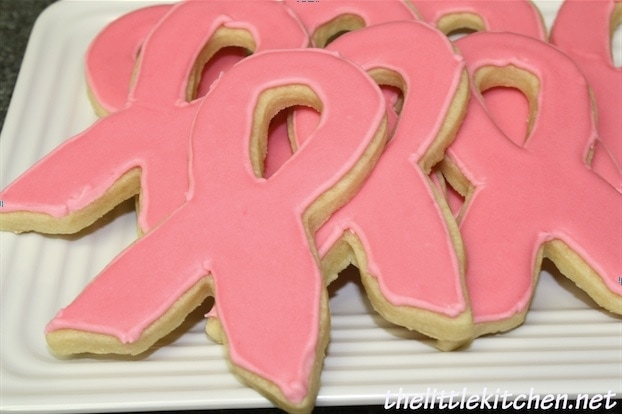
I bought this ribbon cookie cutter a couple of years ago and have never tried them out. I just had to with this batch of cookies. I just love how they turned out. I think I will be making a lot of pink ribbon cookies!
